
Have you ever been here?
You’re about to swap out a lightbulb or fix an outlet, your hand is hovering near the wires, and that voice in your head goes, “Wait… is this thing live?”
Let’s be honest—most of us grew up hearing, “Don’t mess with electricity!” But when it’s time to actually fix something at home, it’s easy to second-guess yourself about what’s safe and what isn’t.
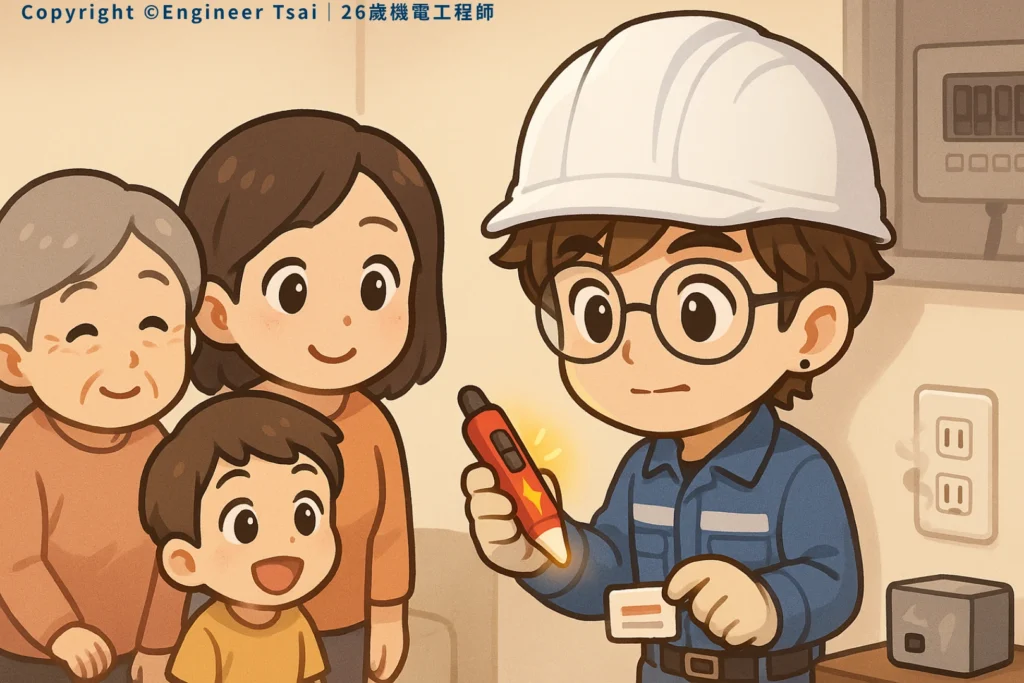
Here’s the truth: If you keep a voltage tester (aka a test pen) handy and know how to use it, you can check most of your home’s wiring yourself and avoid nearly all the common shock risks.
1. Why Is a Voltage Tester So Important? Every Home Needs One
Ever heard a friend say, “Do I really need a voltage tester? I’ll just use a multimeter!”
But let’s face it: most people have no clue how to use a multimeter—or don’t want to mess with all those wires and settings for a quick check.
A voltage tester is the fastest, easiest, and safest way for anyone to check if a wire or outlet is hot.
Key Takeaway:
- Whether you live in a brand new apartment or an older house, you’ll run into things like aging wires or loose outlets.
- A voltage tester lets you check first, so you never assume “it’s safe” and end up with a nasty shock.
2. What Is a Voltage Tester? Which Kind Should You Buy?
There are two main types of voltage testers you’ll find in U.S. stores:
- Contact-Type (Neon/Glow Testers):
You touch the probe to the wire or outlet and your finger to the metal cap—if it lights up, there’s voltage present. - Non-Contact (Beeping/Light-Up Testers):
You just bring the tip near a live wire or outlet. If it flashes or beeps, there’s voltage. These are safer, easier, and a must-have for modern homes.
Practical Tip:
- If you’re new or nervous about electricity, pick a non-contact voltage tester—they’re way safer.
- Contact types are cheaper, but only work if you touch the cap (and sometimes aren’t as reliable).
3. How Do You Actually Use a Voltage Tester? (Easy SOP)
Step 1: Check the tester itself.
- For non-contact types: make sure the battery is good (test it on a live outlet first!).
- For contact types: touch it to a known live outlet; the light should come on.
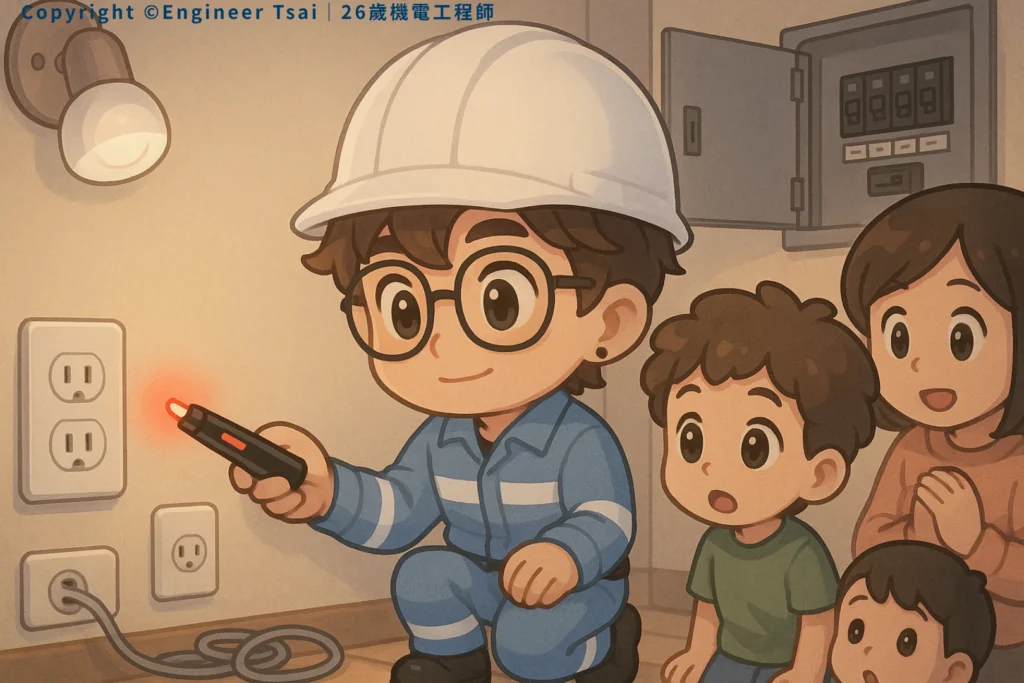
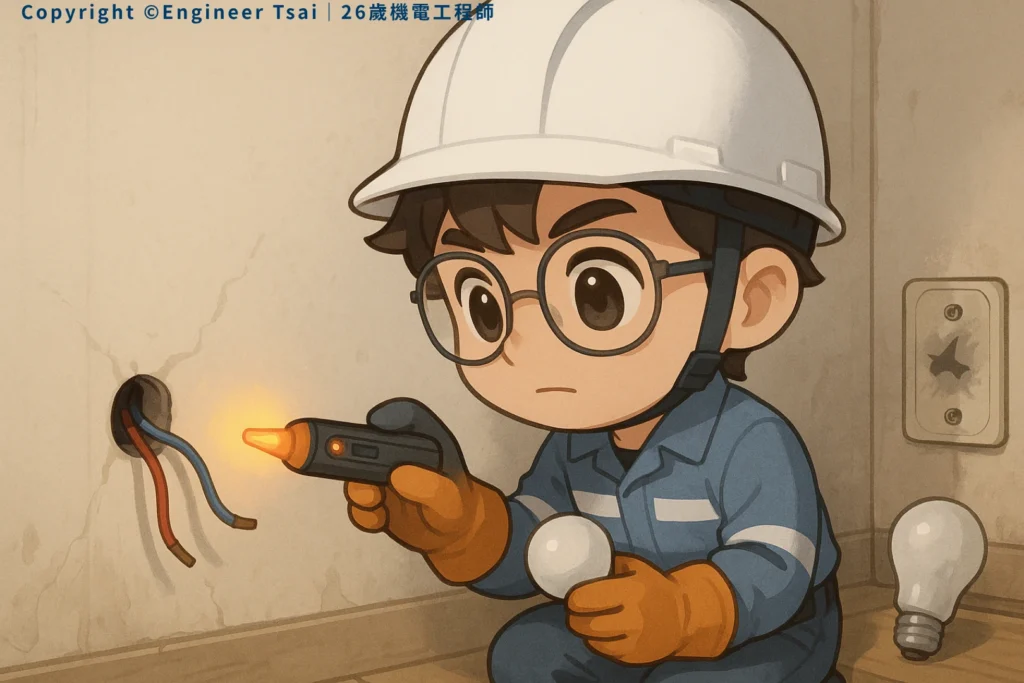
Step 2: Test your wires or outlets.
- Outlet: Stick the tester in both slots. Light/beep = live power.
- Wire: Hold the tip near (or on) the exposed copper—any signal means there’s voltage.
- Switch/outlet box: Before unscrewing anything, check each wire.
Step 3: Decide what’s safe, and make notes.
- If you get a signal, the wire/outlet is live. Cut the power before working!
- If not, double-check (try from a different angle or on a different outlet).
- Make a note of which outlets, switches, or wires are problematic—makes future troubleshooting way easier.
Copy-and-Use Insight:
“Always test before you touch, and if the light comes on—hands off!”
That’s the basic habit every DIYer needs.
4. Common Mistakes & Safety Reminders
- Only testing one prong?
Test both slots—sometimes just one is wired! - Non-contact, no battery?
Lots of people forget to put a battery in, then think a wire is safe when it isn’t. - Wet hands?
Always work with dry hands and stand on a dry surface. - Contact-type not touching the cap?
They won’t work if you’re not touching the end cap with your finger (but don’t use if you’re uncomfortable or unsure).
Key Takeaway:
Voltage testers aren’t magic, but not using one is a big reason why people get shocked.
5. When Should You Use a Voltage Tester? And How Much Do They Cost?
Best times to use one:
- Before changing light fixtures, switches, or outlets
- Anytime you’re not sure if a wire or extension cord is live
- During remodeling or when adding/removing wiring
- Regular safety checks of old outlets or suspicious wiring
Typical U.S. price range:
- Non-contact: $10–$25, higher for pro models with extra features
- Contact-type: $3–$10, but only buy from reputable brands with instructions
Copy-and-Use Insight:
A few bucks for peace of mind—don’t go cheap, focus on a tester that’s safe and reliable.
6. DIY Home Wiring Safety Checklist
- Before any work, check every outlet or wire with your voltage tester.
- If it’s live, shut off the breaker first.
- Double-check (test again) before starting work.
- If you’re unsure, test again—or ask a family member to check too.
- After you finish, use your tester one last time to make sure everything’s back to normal.
7. Final Thoughts: You CAN Keep Your Home Safer
Nobody likes waiting around for an electrician in an emergency.
Learning how to use a voltage tester gives you extra confidence—and keeps your whole family safer.
You don’t need to be an expert. Just remember: “Test first, then fix.” That’s all it takes to avoid most electrical accidents at home.
Next time you’re about to fix or install something, grab your tester and give it a whirl!
Got a favorite tester or a cautionary tale? Share your story below so others can learn—and stay safe—with you.
📌 Further Reading:
- [Home Electrical Safety: Turning Off Your Main Breaker Made Simple]
Step-by-step from finding your panel to shutting off the power in any emergency. - [Beginner’s Guide: Five Electrical Tools That Make Home Maintenance Easy]
Testers, screwdrivers, and everything else you need for safe DIY fixes. - [Common Multimeter Mistakes and How to Avoid Them]
Multimeters aren’t just for pros—learn the basics to check voltage, continuity, and more.
If you found this helpful, follow me for more hands-on home safety tips. Next up: what to do if your outlet is loose or wobbly—and how to fix it right!

